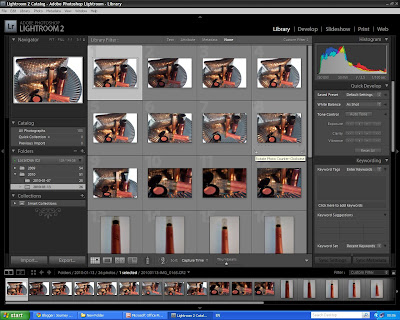
Since starting the FD course advice has been given to use appropriate software to import our digital images. A leading digital asset management is Adobe Photoshop's Lightroom 2.0 and below I have added screen prints to demonstrate my knowledge and understanding on how to import, organise and name my images within the program.
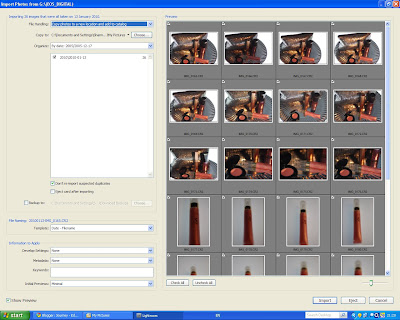
The 1st screen to appear when your importing your images into Lightroom is the one below;


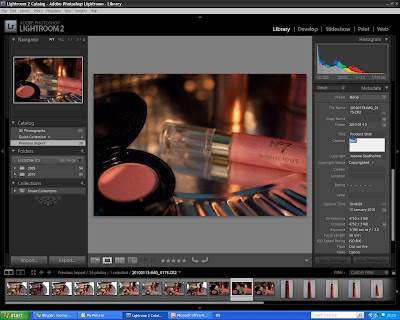
Once your folder has been created and all your images have been uploaded to the program you can click on any individual photograph and under the heading at the right hand side of the screen 'Metadata' you are able to give titles and captions to individual photographs. I titled the above as 'Product Shot' and captioned it as 'No7'
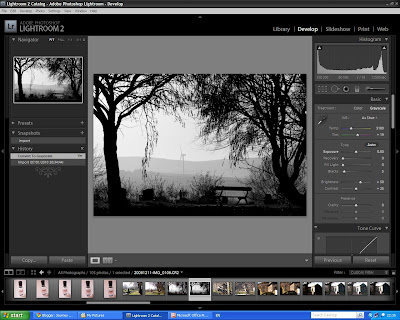
To be able to manipulate your images, after selecting the image you wish to work on, you must click on 'Develop' which can be found at the top right hand side of the page as highlighted below. Within the right hand column below within the 'Treatment' area you are able to change whether you require your image in colour or as a black and white photograph (grey scale). Also you can change the white balance on your colour photographs by decreasing or increasing the temp slider.


This is my original colour photograph

This is a black and white version or grey scale of my original photograph

This is a 'cooler' colour temperature version of my original photograph

This is a 'warmer' colour temperature version of my original photograph
No comments:
Post a Comment