On 11.11.09 Andy demonstrated to our group how to photograph glass bottles, not always effectively, with the use of different lighting set ups. He advised us all to set our DSLR to ISO 400 using an aperture of F4 where below are all the photographs and notes taken from his lecture;
Set 1 - 45 / 45 degree lighting with a soft box -

 Using reflective lighting diffused by a screen will illustrate the reflective quality and natural sheen of the glass by creating highlights
Set 2 - Back lit with a soft box through an opaque curved table -


Back lighting emphasises the translucence of the glass and the features
Set 3 - Back lit and lit from below with soft boxes -


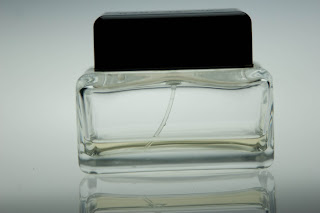
Set 4 - Lit from below with a soft box -

 Lighting from below does light the glass part of this perfume bottle very nicely however there is lack of detail present towards to edges and obviously the top of the bottle
Set 5 - Lit with a soft box above, but not directly above


 This now gives detail to the top part of the bottle
Set 6 - Lighting at both sides with soft boxes -


Set 7 - Lighting from below, using a reflector above and two side sub tractors -


This is the same set up as number 7 however you can see that not using the reflector above does not show as much detail at the top of the bottle
Set 8 - Using available light


Above are my photographs of my Kate Moss perfume bottle. I used the same set as number 7 and ensured that a reflector was used above to give detail to the top of the black bottle top. I focussed on the glass features such as the 'Kate Moss' logo, the marks, features, shape and colour of the glass rather than the glass itself.
Set 1 - 45 / 45 degree lighting with a soft box -


Set 2 - Back lit with a soft box through an opaque curved table -


Back lighting emphasises the translucence of the glass and the features
Set 3 - Back lit and lit from below with soft boxes -


Set 4 - Lit from below with a soft box -


Set 5 - Lit with a soft box above, but not directly above


Set 6 - Lighting at both sides with soft boxes -


Set 7 - Lighting from below, using a reflector above and two side sub tractors -


Using black side sub tractors, which absorb the light, defined the edges of the bottle. The above reflector was used to light up the top of the bottle

Set 8 - Using available light
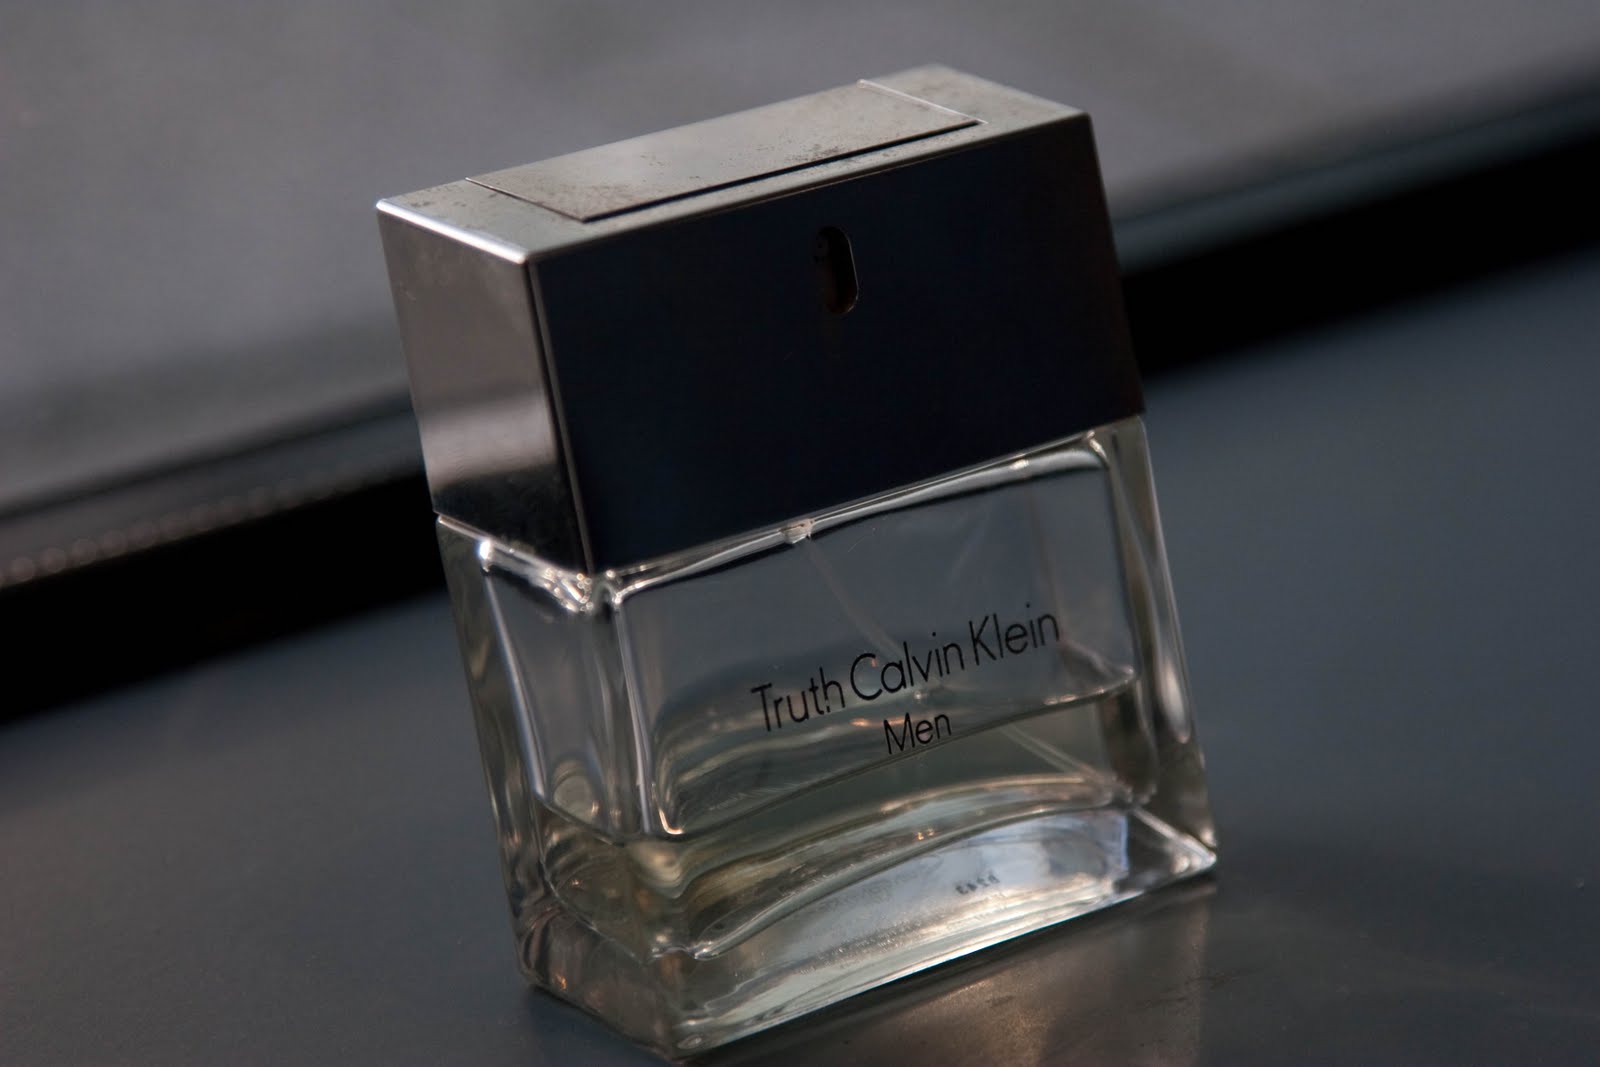
I placed this aftershave bottle on a window ledge in the university centre, I think natural lighting is always the best to use however the photograph would have been vastly improved if I had used a reflector to light up the front of the bottle, however I do like the composition I used.

From the lecture I gathered that the best type of lighting for bottles is ensuring that you use large diffused light sources, back lighting to emphasise features and to use absorbers at the sides to define the edges of the bottles.
Above are my photographs of my Kate Moss perfume bottle. I used the same set as number 7 and ensured that a reflector was used above to give detail to the top of the black bottle top. I focussed on the glass features such as the 'Kate Moss' logo, the marks, features, shape and colour of the glass rather than the glass itself.
No comments:
Post a Comment